
Blog
Creating Engaging Video Lessons with Clipart: A Step-by-Step Guide

Jun
-
 Hazy Purple Moors – Crystal Dream Watercolor Digital Paper Backgrounds
4.99 $
Hazy Purple Moors – Crystal Dream Watercolor Digital Paper Backgrounds
4.99 $ -
 Watercolor Seashells / Ocean Shells Backgrounds / Digital Papers Clip Art
4.99 $
Watercolor Seashells / Ocean Shells Backgrounds / Digital Papers Clip Art
4.99 $ -
 Fantasy Rainbow Watercolor Digital Paper – Pastel Backgrounds Clip Art for Teachers and Students
4.99 $
Fantasy Rainbow Watercolor Digital Paper – Pastel Backgrounds Clip Art for Teachers and Students
4.99 $ -
 Mottled Rainbow Watercolor Digital Paper Backgrounds – Sweet Smooth Clip Art for Teachers and Students
4.99 $
Mottled Rainbow Watercolor Digital Paper Backgrounds – Sweet Smooth Clip Art for Teachers and Students
4.99 $ -
 Autumn Leaf Swirls Watercolor Digital Paper – Brown Fall Backgrounds Clip Art for Teachers and Students
4.99 $
Autumn Leaf Swirls Watercolor Digital Paper – Brown Fall Backgrounds Clip Art for Teachers and Students
4.99 $ -
 Halloween Spooky Night Background Scenes
4.99 $
Halloween Spooky Night Background Scenes
4.99 $ -
 Playground Background Scenes
4.99 $
Playground Background Scenes
4.99 $ -
 Art Room Background Scenes
3.99 $
Art Room Background Scenes
3.99 $
Are you tired of dull, monotonous video lessons that fail to capture your audience’s attention? You’re not alone! In 2025, the demand for visually engaging educational content is higher than ever. Did you know that 65% of learners retain information better when visuals are included? That’s where clipart comes in! In this guide, I’ll walk you through the process of creating captivating video lessons using clipart.
Why Use Clipart in Video Lessons?
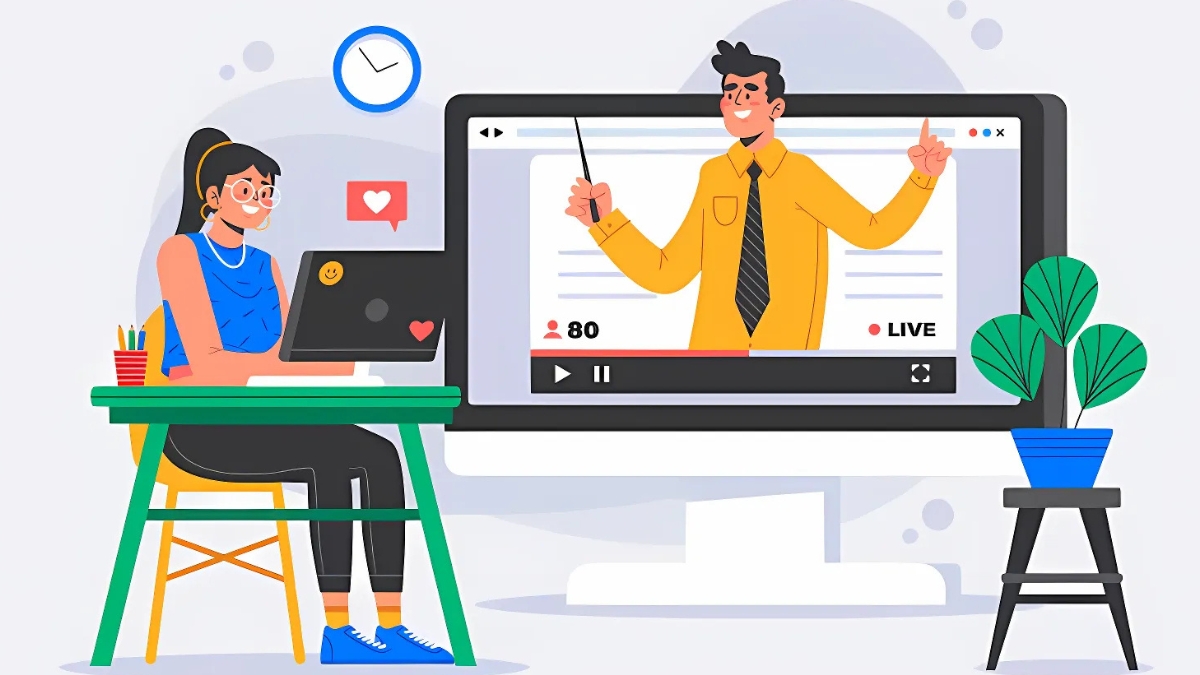
Let’s be real—nobody wants to sit through a video lesson that’s just a wall of text or a monotone voiceover. I learned this the hard way when I created my first online course. I thought, “Hey, I’ll just record myself talking over some slides. Easy peasy.” Wrong. My students’ engagement was… let’s just say, not great. That’s when I discovered the power of visuals, and specifically, clipart.
Here’s the thing: our brains are wired to process visuals faster than text. Studies show that people remember 80% of what they see and do, compared to just 20% of what they read. Clipart taps into that by breaking up dense information into digestible, eye-catching chunks. For example, when I was teaching a lesson on photosynthesis, I used clipart of a smiling sun and a happy little plant to illustrate the process. Suddenly, my students weren’t just listening—they were visualizing and connecting with the content.
One of the biggest benefits of clipart is its simplicity. You don’t need to be a graphic designer to use it. I’m definitely not one, but I’ve still managed to create some pretty decent-looking lessons. Clipart is also super versatile. Need a cartoon microscope for a science lesson? Done. A quirky character to explain a math concept? Easy. And the best part? It’s accessible. Most clipart libraries are affordable (or even free), and they’re easy to integrate into your video editing software.
But here’s where clipart really shines: it reduces cognitive load. I didn’t even know what that meant until I started diving into educational psychology. Basically, when you overload your audience with too much text or complex visuals, their brains shut down. Clipart helps by simplifying concepts and making them more relatable. For instance, instead of explaining a historical event with a long paragraph, I’ll use clipart to show a timeline with little icons representing key moments. It’s like giving your audience’s brain a break while still teaching them something valuable.
And don’t just take my word for it—real-world examples prove this works. One of my favorite success stories is a teacher who used clipart to create a video lesson on the solar system. She turned each planet into a character with its own personality (Jupiter was the “big boss,” and Pluto was the “underdog”). Her students loved it, and their test scores improved significantly.
Choosing the Right Clipart for Your Video Lessons
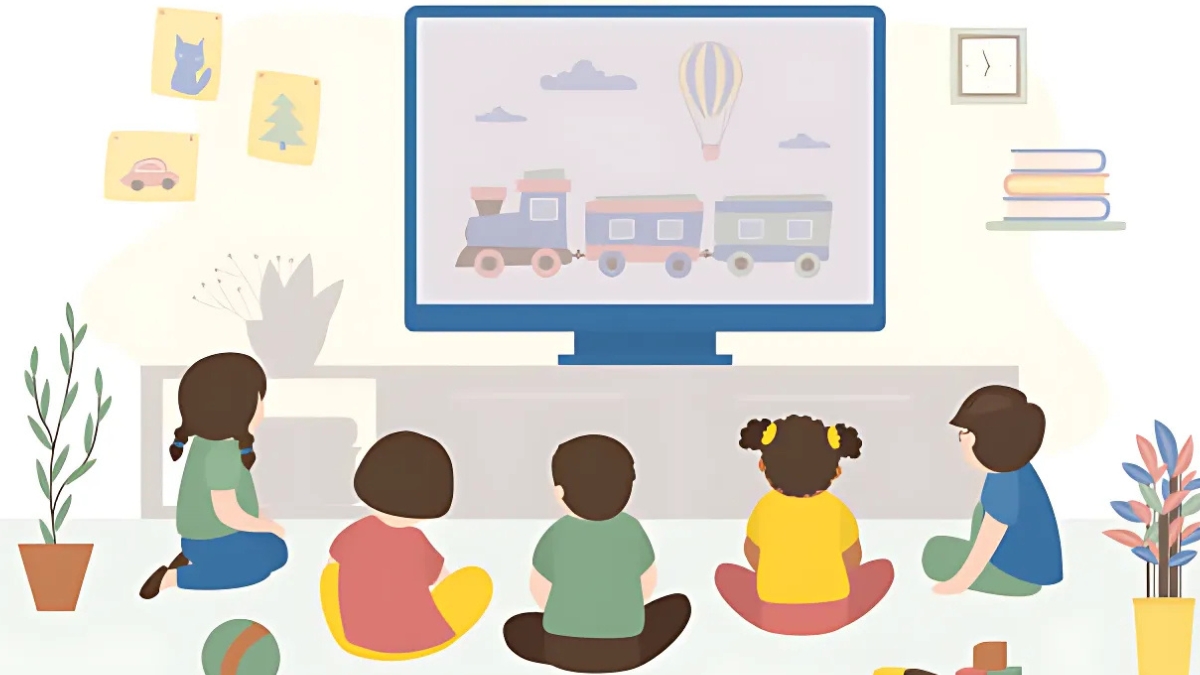
The first step in choosing the right clipart is understanding your audience and lesson objectives. Are you teaching kids? Go for bright, playful images. Adults? Stick to more professional, minimalist designs. For example, when I created a video lesson for a group of college students, I used sleek, abstract clipart to explain complex concepts. But for my elementary school lessons, I went all out with colorful, cartoonish characters.
There are so many types of clipart out there—educational, abstract, character-based, you name it. My personal favorite is character-based clipart because it adds a storytelling element to your lessons. I once used a clipart character named “Professor Pixel” to guide students through a coding tutorial. It was a hit!
Now, where do you find good clipart? I’ve made the mistake of using low-quality, watermarked images, and trust me, it’s not a good look. Stick to reputable sites like Canva, Freepik, or Shutterstock. They’ve got tons of high-quality, royalty-free options. Pro tip: Canva’s free version is a lifesaver for beginners.

When selecting clipart, always think about your brand or teaching style. If you’re all about clean, modern design, avoid overly detailed or cartoonish images. And if humor is your thing, look for quirky, fun clipart that matches your vibe. I once used a clipart of a dancing pineapple in a lesson about tropical ecosystems, and my students still talk about it.
So, take your time when choosing clipart. It’s not just about finding something that looks good—it’s about finding something that works for your audience and your message. And hey, if you mess up, that’s okay. I’ve definitely had my fair share of clipart fails. But when you get it right, it’s pure magic.
Tools and Software for Creating Video Lessons with Clipart
Let’s get real for a second: creating video lessons with clipart can feel overwhelming if you don’t have the right tools. I remember my first attempt—I was using some random free software I found online, and let’s just say, it was a disaster. The clipart looked pixelated, the animations were clunky, and the whole thing took forever to render.
That’s when I discovered the power of good video editing software. If you’re serious about creating professional-looking video lessons, invest in tools like Adobe Premiere Pro or Camtasia. Yes, they’re pricey, but they’re worth every penny. I use Camtasia for most of my lessons because it’s user-friendly and has built-in clipart libraries.
If you’re on a budget, don’t worry—there are plenty of free options too. Canva is my go-to for quick, easy projects. It’s perfect for beginners, and they’ve got a ton of clipart options. Plus, you can animate your clipart with just a few clicks. I once created an entire lesson on Canva in under an hour, and it looked like I’d spent days on it.

Now, let’s talk about animation. This is where clipart really comes to life. Most video editing tools let you add simple animations, like making a character wave or a graph fill up. I love using these little touches to keep my audience engaged. For example, in a lesson about the water cycle, I animated a clipart raindrop to “fall” from a cloud. It’s a small detail, but it makes a big difference.
Adding clipart to your video lessons is easier than you think. Most tools have a drag-and-drop feature, so you can just plop your images onto the timeline. Pro tip: always preview your video before exporting. I’ve made the mistake of not checking, only to realize my clipart was covering important text.
Designing Engaging Video Lessons with Clipart
Designing video lessons with clipart is like putting together a puzzle—you need the right pieces in the right places to make it work. I’ll admit, my early attempts were a mess. I’d throw clipart everywhere, thinking more was better. Spoiler: it’s not. My students were overwhelmed, and honestly, so was I.
The first thing I learned about designing video lessons is structure. Every lesson needs a clear beginning, middle, and end. Start with an introduction that hooks your audience—maybe a bold clipart image or a question that sparks curiosity. For example, in a lesson about space, I opened with a clipart of a rocket blasting off and the question, “Ever wonder what’s beyond our planet?” It immediately grabbed attention.
Next, use clipart to highlight key points. Instead of listing bullet points, I’ll use icons or illustrations to represent each idea. For instance, in a lesson about healthy eating, I used clipart of fruits, veggies, and a water bottle to visually reinforce the main takeaways. It’s a simple trick, but it makes the content more memorable.
Balancing visuals and audio is another big one. I used to make the mistake of either overloading my slides with clipart or relying too much on my voiceover. Now, I aim for a happy medium. If I’m explaining a complex concept, I’ll use minimal clipart and focus on clear, concise narration. But for lighter topics, I’ll go all out with fun visuals and animations.
Color schemes and fonts matter more than you might think. I once used a bright yellow background with neon green text because, hey, it looked fun. Turns out, it was also impossible to read. Lesson learned: stick to a cohesive color palette and easy-to-read fonts. Canva has some great templates if you’re not sure where to start.
Finally, don’t forget about layout. Keep your clipart and text balanced—don’t let one overpower the other. I like to use the rule of thirds: divide your slide into thirds horizontally and vertically, and place your clipart and text at the intersections. It’s a small tweak, but it makes your slides look way more professional.
Designing video lessons with clipart doesn’t have to be complicated. Start with a clear structure, use visuals to reinforce your message, and keep everything balanced. And remember, it’s okay to make mistakes—I’ve made plenty. The key is to learn from them and keep improving.
Creative Ideas for Using Clipart in Video Lessons
If you think clipart is just for decorating slides, think again. Over the years, I’ve discovered so many creative ways to use clipart in video lessons, and I’m excited to share them with you. Let’s start with storytelling.
One of my favorite tricks is to create characters out of clipart and use them to guide the lesson. For example, in a history lesson, I turned a clipart knight into “Sir Explain-a-Lot,” who took students on a journey through medieval times. It sounds silly, but it works! Students love having a “guide” to follow, and it makes the content more relatable.
Another fun idea is to use clipart for quizzes and puzzles. I once created a “mystery box” game where students had to guess what was inside based on clipart clues. For a lesson on animals, I used clipart footprints, tails, and habitats as hints. It was a hit, and it kept everyone engaged until the very end.
Humor is another great way to use clipart. I’ll never forget the time I added a clipart of a dancing banana to a lesson about healthy eating. It was totally random, but it got a laugh—and more importantly, it made the lesson memorable. Just be careful not to overdo it. One or two funny visuals are enough to lighten the mood without distracting from the content.
Seasonal and thematic clipart is another winner. Around Halloween, I’ll use pumpkins and ghosts to spice up my lessons. During the holidays, I’ll add snowflakes and presents. It’s a simple way to keep your content fresh and relevant.
The possibilities are endless when it comes to using clipart creatively. Don’t be afraid to experiment and try new things. Some ideas will flop, and that’s okay. But when you find something that works, it’s pure gold.
Tips for Optimizing Video Lessons for Different Platforms
Creating a great video lesson is only half the battle—you also need to make sure it works for the platform you’re using. I learned this the hard way when I uploaded a 20-minute lesson to Instagram and wondered why no one watched it. Turns out, each platform has its own “rules” for video content.
Let’s start with YouTube. This is where longer, more detailed lessons shine. I aim for videos between 10 and 15 minutes, with clear chapter markers and a thumbnail that includes clipart to grab attention. Pro tip: use YouTube’s end screens to link to related lessons or playlists.
Social media platforms like Instagram and TikTok are a different beast. Here, shorter is better. I keep my videos under 60 seconds and use bold, eye-catching clipart to convey the main idea quickly. For example, in a lesson about grammar, I’ll use clipart of a magnifying glass to “zoom in” on a specific rule.
E-learning platforms like Udemy or Teachable require a more polished approach. I make sure my videos are high-quality, with professional-looking clipart and clear audio. I also include downloadable resources, like clipart-based worksheets or infographics, to add value.
Captions and thumbnails are crucial no matter the platform. I always add captions to my videos—not only are they accessible, but they also help with SEO. For thumbnails, I use clipart to create a visual “hook” that makes people want to click.
Finally, don’t forget about SEO. Use keywords in your video titles, descriptions, and tags. For example, if your lesson is about using clipart in video lessons, include phrases like “engaging video lessons” or “clipart for teachers.”
Optimizing your video lessons for different platforms takes some trial and error, but it’s worth it. Start by understanding the platform’s audience and format, then tailor your content accordingly. And hey, if you mess up, just tweak and try again. That’s how we learn, right?
Creating engaging video lessons with clipart doesn’t have to be complicated! By following the steps and tips outlined in this guide, you can transform your educational content into visually appealing, memorable experiences for your audience. Remember, the key is to balance creativity with clarity and always keep your learners’ needs in mind. Don’t forget to share your creations with us in the comments below—we’d love to see what you come up with!
———————————————————————
If you found this article helpful and want to explore even more ways to brighten your classroom, we’ve curated a list of highly rated classroom decor items available on Amazon. By purchasing through the affiliate links below, you’re not only enhancing your teaching environment—you’re also helping support this website. Every small commission earned helps us keep creating free, high-quality resources for educators like you. Thank you for your support!
Our Favorite Classroom Decor Picks:
1. 9 Calming Corner Posters for Classroom Must Haves – 11×14″
Create a soothing space with these beautiful calming corner posters—perfect for helping students manage emotions and feel safe.
2. Mewise Class Jobs Pocket Chart for Classroom
A practical and colorful chart that makes assigning classroom jobs fun and organized for young learners.
3. Hadley Designs 9 Calming Corner Posters – Calm Down Corner Supplies (11×14″)
Another calming corner option from Hadley Designs, these posters focus on mindfulness and emotional regulation.
4. Hadley Designs Motivational Posters for Classroom
Inspire positivity and growth with these vibrant motivational posters featuring uplifting messages students will love.
5. ULEGIE Boho Classroom Decor Art Poster Hanger Frame
Add a modern, aesthetic touch to your classroom with this boho-style hanging frame—ideal for art prints or rules posters.
6. Boho Classroom Decor for Teacher – Cute Neutral Wall Decor
Soft neutral tones and minimalist design make this a calming, stylish choice for contemporary classroom spaces.
7. 32pcs Classroom Bulletin Board Decorations Set
A complete set of decorative pieces that bring color and structure to your bulletin boards—great for seasonal or thematic updates.
8. English/Spanish Glossy Alphabet Posters – 16.5 x 11.7 Inches
Bilingual and educational, these ABC charts are a valuable tool for early learners and dual-language classrooms.
9. Decorably 20 Colorful Class Rules Poster Set – 11x14in
Reinforce important classroom expectations with this vibrant and visually engaging set of 20 class rules posters.
10. Hadley Designs Motivational Posters – 9 Growth Mindset Wall Art
Promote perseverance and resilience with these beautifully designed growth mindset posters, perfect for any grade level.
11. 98 Pieces Cactus Calendar Bulletin Board Set
A comprehensive and fun cactus-themed calendar kit that includes everything from days of the week to seasonal elements—perfect for daily routines.